Installing PageMotor on A2 Hosting
A plain-English walkthrough for A2 Hosting's cPanel. About ten minutes, and you do not need to be technical.
On a different cPanel host? Everything in this guide is standard cPanel, so the steps are nearly identical anywhere. We also have dedicated guides for GoDaddy and a different one for Vultr (a VPS, not shared hosting).
Use this guide with any AI assistant
Download it as a prompt file, paste it into Claude, ChatGPT, Gemini or any LLM, and it will walk you through every step interactively.
1Put PageMotor on your site
- Sign in to your A2 Hosting account at
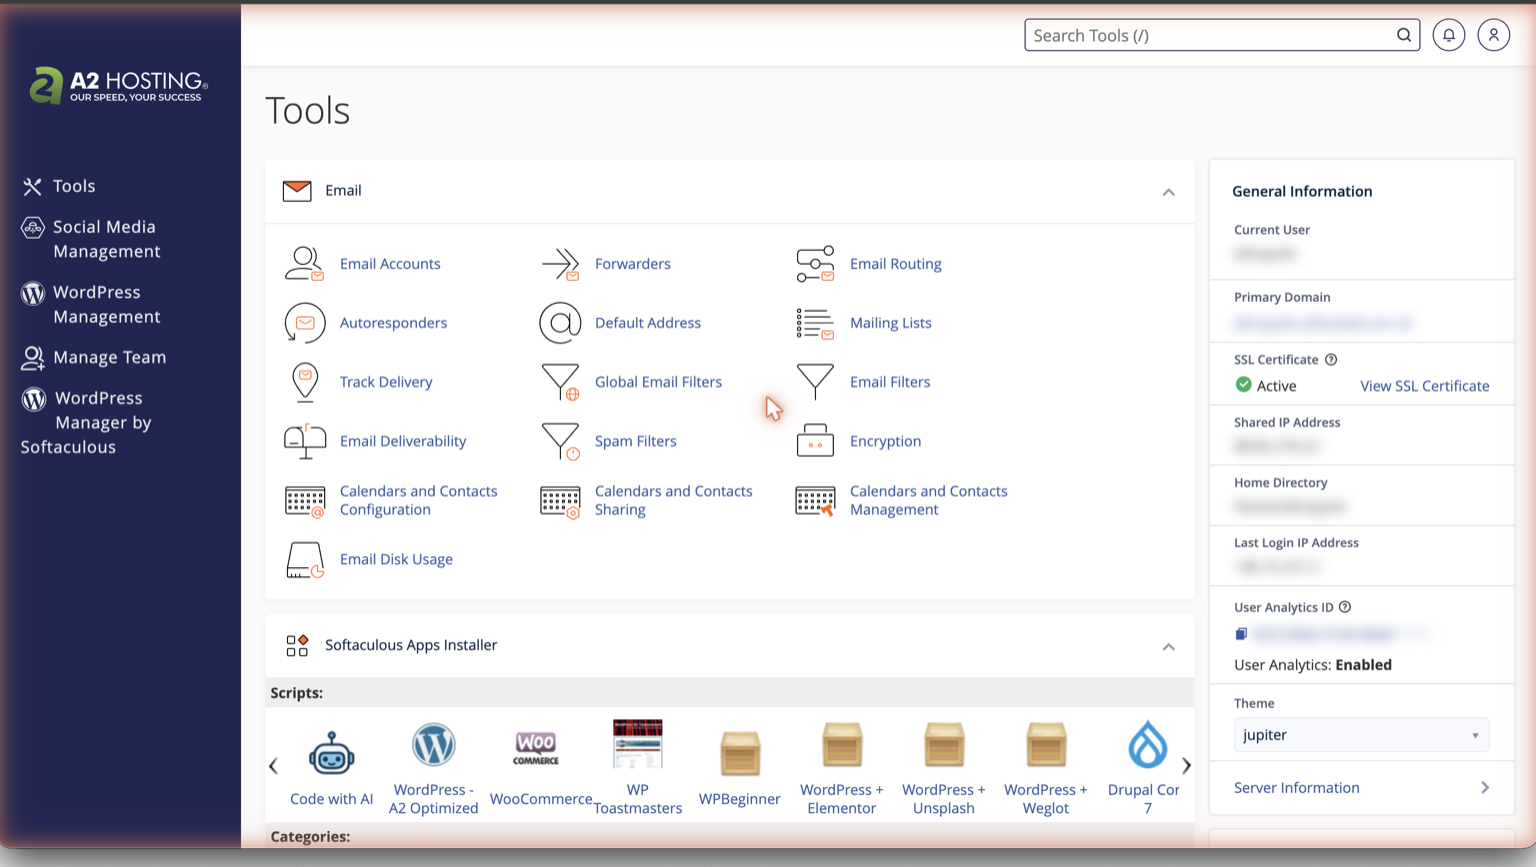
my.a2hosting.com, then go to My Accounts. Click Manage next to your hosting package, then click Login to Control Panel on the hosting dashboard to open cPanel.
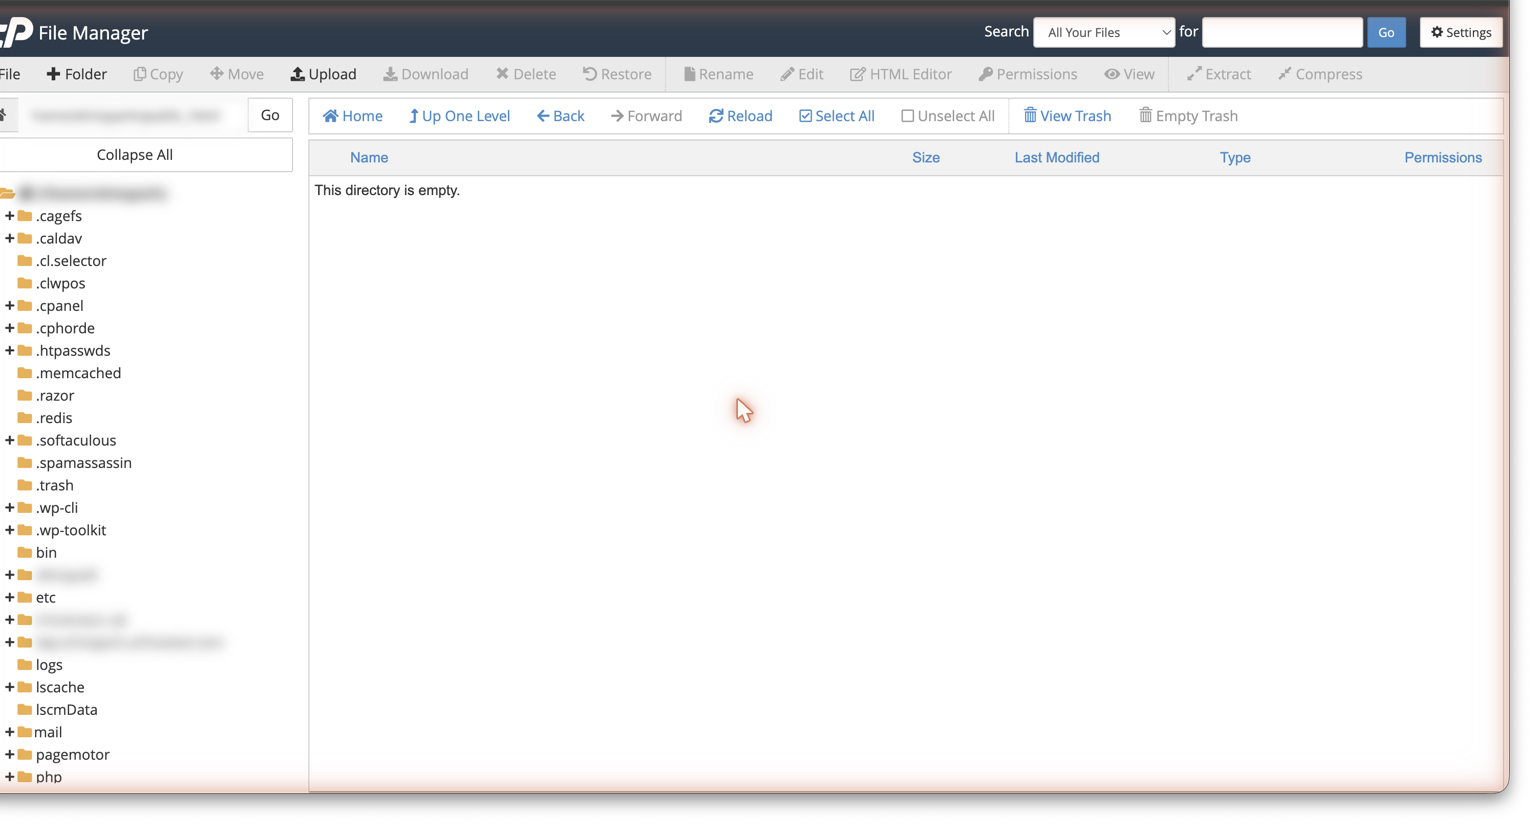
- In cPanel, click File Manager and open the folder for your site. For your main domain it is
public_html. (Installing on a second, addon domain? Use the folder shown as that domain's Document Root under cPanel → Domains instead.) - Click Upload, choose your PageMotor
.zip, and wait for it to finish. - Back in File Manager, right-click the uploaded zip and choose Extract. Then delete the zip file to keep things tidy.
pagemotor.php, a lib folder, and a file called config-sample.php sitting in your site folder. (If extracting gave you a single folder called pagemotor instead, open it, select everything inside, choose Move and move it all into your site folder, then delete the empty folder and the zip.) Good. We use that sample file in step 3.2Create your database
PageMotor keeps your content in a database. A2 Hosting's cPanel has a wizard that does the whole job in one pass.
- In cPanel, open the MySQL Database Wizard (under the Databases section).
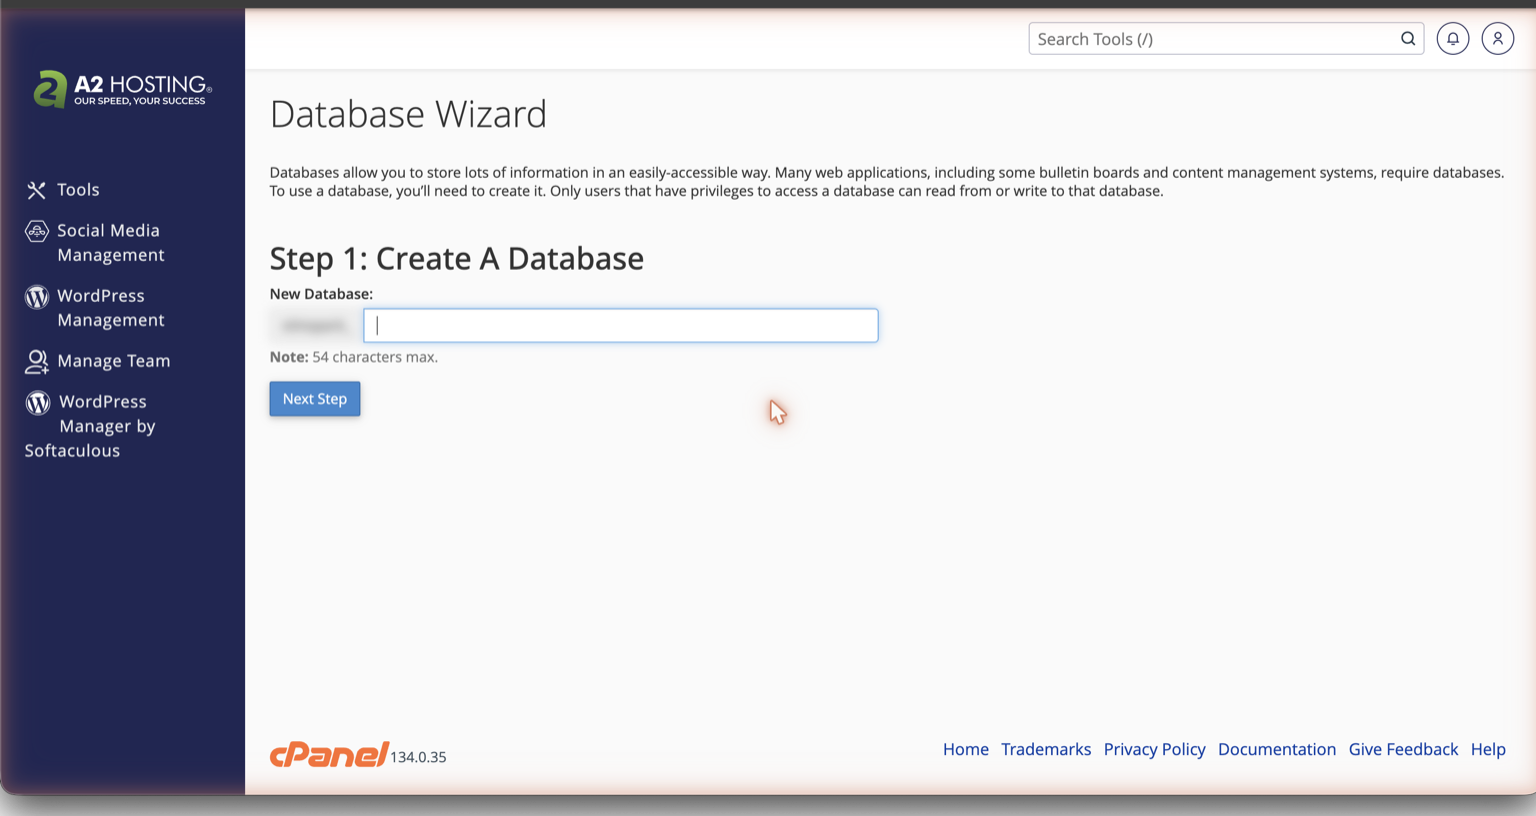
- Name the database. Pick something descriptive like
pagemotor: A2 Hosting prefixes it automatically with your account name, so the full name shown at the end (e.g.accountname_pagemotor) is the one to copy. - Create the database user. Let the password generator make a strong password, and write it down now.
- On the privileges screen, tick ALL PRIVILEGES and finish the wizard.
3Fill in config.php
This is the file that connects PageMotor to the database you just made.
- In File Manager, find
config-sample.phpnext topagemotor.php. - Right-click it and choose Rename. Rename it to exactly
config.php. This rename is the step that switches PageMotor on. - Right-click
config.phpand choose Edit. - Put your three values into
DB_NAME,DB_USERandDB_PASSWORD, exactly as the wizard showed them. Leave the rest as they are, then Save.
Here is what the database section of your config.php should look like once filled in. Edit the existing lines to match; you are changing three values, not pasting this block in:
// Database connection info:
define('DB_NAME', 'accountname_pagemotor');  // exact name from the wizard
define('DB_USER', 'accountname_pmuser');    // exact username from the wizard
define('DB_PASSWORD', 'your-strong-password');
define('DB_HOST', 'localhost');          // correct for A2 Hosting cPanel
define('DB_CHARSET', '');
define('DB_COLLATE', '');
define('DB_TABLE_PREFIX', 'pm_');
define('DB_FLAGS', '');
define('PM_HTML_CHARSET', '');config.php (not config-sample.php, and not config.php.txt), and it must sit in the same folder as pagemotor.php.4Finish in your browser
- Visit your website. On this first visit PageMotor quietly sets up its content for you.
- Now go to
yoursite.com/admin/and create your admin user.
If something is not working
Open these only if you hit them. Each one is quick.
I see "HTTP ERROR 500" or a blank white page
most commonAlmost always a config.php problem. Check three things:
- The file is named exactly
config.php(not stillconfig-sample.php, and notconfig.php.txt). - It is in the same folder as
pagemotor.php. - To see the real reason, open cPanel → Metrics → Errors. If it says
config.php"No such file or directory", this is your fix. A2 Hosting also creates a per-siteerror_logfile inside yourpublic_html, which you can read directly in File Manager.
The log says "MySQLi Connection Error"
Good news, that means config.php is now working and PageMotor reached the database step. It just could not log in. Re-check, against the exact names the wizard showed:
- The database name and username include the account prefix (e.g.
accountname_pagemotor, not justpagemotor). - The password is correct.
- The user has ALL PRIVILEGES on the database (the wizard's last screen; you can re-check under cPanel → MySQL Databases).
- The host is
localhost. That is correct for all A2 Hosting cPanel accounts.
The site is very slow on the first few page loads
A2 Hosting's Turbo plans use LiteSpeed with heavy caching. On the very first visit after installation, LiteSpeed may need a moment to warm its cache. This is normal, and subsequent loads are fast. If the site feels slow beyond the first few minutes, check that your plan's LiteSpeed cache is enabled in cPanel under LiteSpeed Web Cache Manager.
I cannot find config-sample.php
It ships inside the PageMotor download, right next to pagemotor.php. Two things to check: the files may have landed in a pagemotor subfolder when the zip extracted, in which case move everything in it up into your site folder (see the note in step 1); and if the folder is genuinely empty, the zip did not extract completely, so repeat step 1.