Installing PageMotor on GoDaddy
A plain-English walkthrough for GoDaddy's cPanel Web Hosting. About ten minutes, and you do not need to be technical.
Not on GoDaddy? Everything in this guide is standard cPanel, so the steps are nearly identical on any cPanel host. We also have this guide for Bluehost and HostGator, and a different one for SiteGround (which does not use cPanel).
Use this guide with any AI assistant
Download it as a prompt file, paste it into Claude, ChatGPT, Gemini or any LLM, and it will walk you through every step interactively.
1Put PageMotor on your site
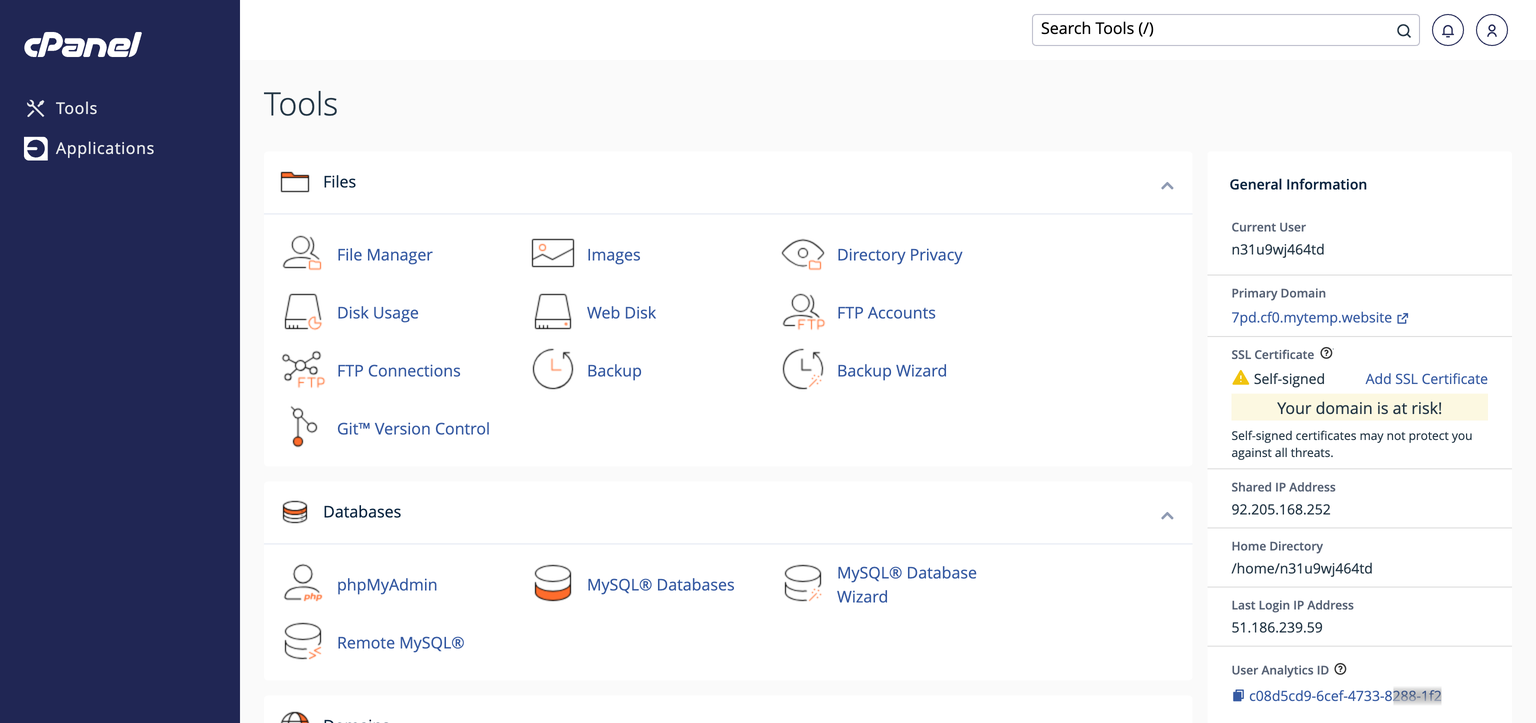
- Open cPanel: sign in at godaddy.com and open My Products. Next to your Web Hosting plan choose Manage, then click cPanel Admin on the hosting dashboard. (If the dashboard looks different, a reliable fallback: go to
yourdomain.com/cpaneland sign in with your cPanel username and password, which you can view or reset under the hosting dashboard's Settings.) - In cPanel, click File Manager and open the folder for your site. For your main domain it is
public_html. (Installing on a second, addon domain? Use the folder shown as that domain's Document Root under cPanel → Domains instead.) - Click Upload, choose your PageMotor
.zip, and wait for it to finish. - Back in File Manager, right-click the uploaded zip and choose Extract. (If Extract stalls partway, just run it again; GoDaddy's shared servers sometimes pause big jobs, and a retry normally finishes it.)

pagemotor.php, a lib folder, and a file called config-sample.php sitting in your site folder. (If extracting gave you a single folder called pagemotor instead, open it, select everything inside, choose Move and move it all into your site folder, then delete the empty folder and the zip.) Good. We use that sample file in step 3.2Create your database
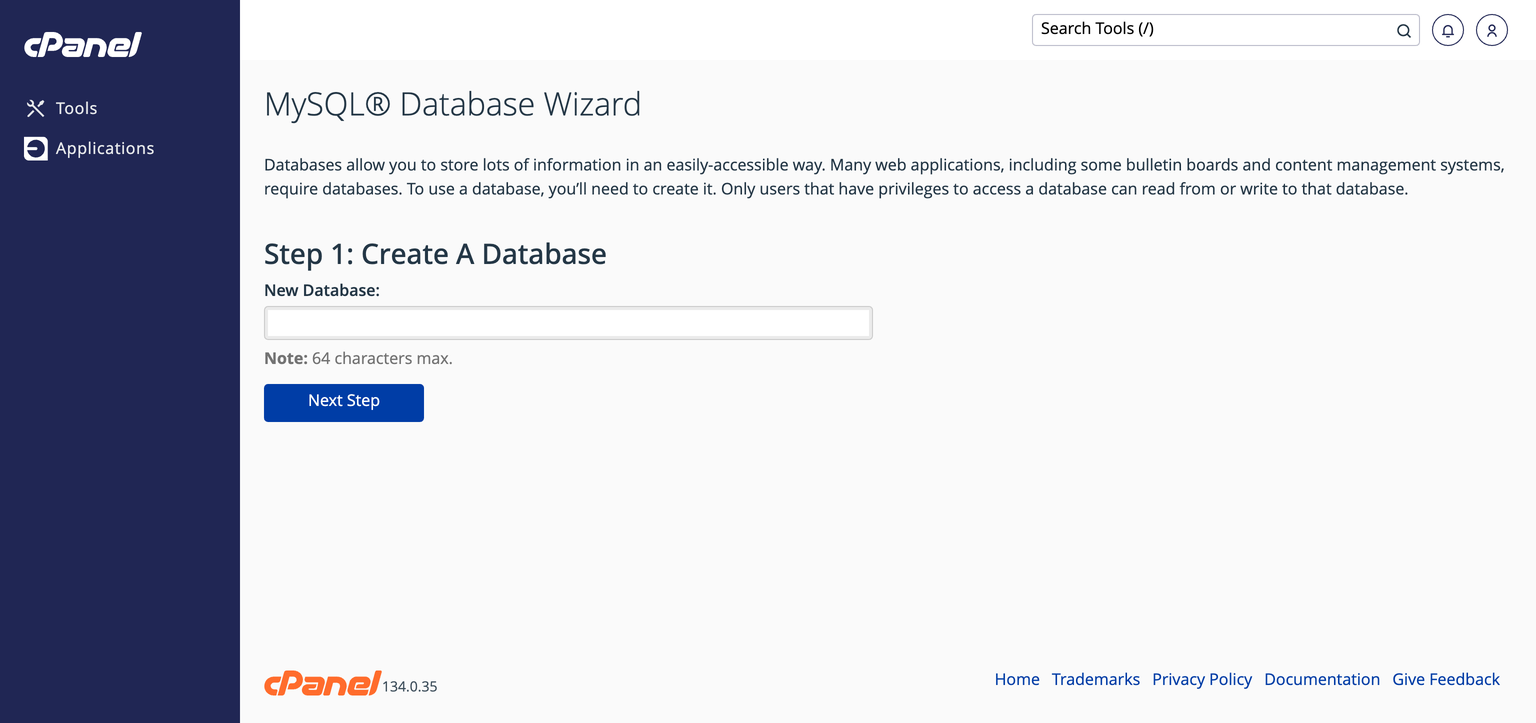
PageMotor keeps your content in a database. GoDaddy's cPanel has a wizard that does the whole job in one pass.
- In cPanel, open the MySQL Database Wizard (under the Databases section).
- Name the database. Pick something distinctive like
yoursite_pagemotor: GoDaddy needs the name to be unique across their whole system, so a plain name likepagemotormay already be taken. - Create the database user. Let the password generator make a strong password, and write it down now.
- On the privileges screen, tick ALL PRIVILEGES and finish the wizard.
accountname_ before the name), then the full prefixed name is the real one. Either way, copy the final database name and username exactly as cPanel shows them at the end of the wizard. You will need those two plus the password in the next step.3Fill in config.php
This is the file that connects PageMotor to the database you just made.
- In File Manager, find
config-sample.phpnext topagemotor.php. - Right-click it and choose Rename. Rename it to exactly
config.php. This rename is the step that switches PageMotor on. - Right-click
config.phpand choose Edit. - Put your three values into
DB_NAME,DB_USERandDB_PASSWORD, exactly as the wizard showed them. Leave the rest as they are, then Save.
Here is what the database section of your config.php should look like once filled in. Edit the existing lines to match; you are changing three values, not pasting this block in:
// Database connection info:
define('DB_NAME', 'yoursite_pagemotor');    // exact name from the wizard
define('DB_USER', 'yoursite_pmuser');       // exact username from the wizard
define('DB_PASSWORD', 'your-strong-password');
define('DB_HOST', 'localhost');            // correct for GoDaddy's cPanel hosting
define('DB_CHARSET', '');
define('DB_COLLATE', '');
define('DB_TABLE_PREFIX', 'pm_');
define('DB_FLAGS', '');
define('PM_HTML_CHARSET', '');config.php (not config-sample.php, and not config.php.txt), and it must sit in the same folder as pagemotor.php.4Finish in your browser
- Visit your website. On this first visit PageMotor quietly sets up its content for you.
- Now go to
yoursite.com/admin/and create your admin user.
Sending email on GoDaddy
Email is the one place GoDaddy genuinely differs from other hosts, so it is worth two minutes now. Contact forms, sign-ups and password resets all need a way to send mail.
The setup that works on GoDaddy: send through the server's own local mail system.
- In your mail plugin (EP Email, for example), set the transport to the local mail server: SMTP Host
localhost, Port25, Encryption none, Authentication none. There is no username or password, because the server trusts mail sent from itself. - Or, even simpler, choose the PHP mail() transport if your plugin offers it. It uses that same local mail system with nothing to configure.
- Send a test email to yourself. A local connection succeeds where the outside services timed out.
localhost: Test Connection passes and the email sends. Watch EP Email's own heads-up appear: the message is “sent”, but without DKIM, Gmail will silently drop it. That is the next thing to fix.If something is not working
Open these only if you hit them. Each one is quick.
I see "HTTP ERROR 500" or a blank white page
most commonAlmost always a config.php problem. Check three things:
- The file is named exactly
config.php(not stillconfig-sample.php, and notconfig.php.txt). - It is in the same folder as
pagemotor.php. - To see the real reason, open cPanel → Metrics → Errors. (On GoDaddy an
error_logfile does not appear in your site folder by itself, so Metrics → Errors is the place to look. If you need fuller PHP logging, GoDaddy's help article "Set up PHP error logging" shows how to switch it on.) If it saysconfig.php"No such file or directory", this is your fix.
The log says "MySQLi Connection Error"
Good news, that means config.php is now working and PageMotor reached the database step. It just could not log in. Re-check, against the exact names the wizard showed:
- The database name and username are copied exactly, including any prefix if your screen showed one.
- The password is correct.
- The user has ALL PRIVILEGES on the database (the wizard's last screen; you can re-check under cPanel → MySQL Databases).
- Ignore old tutorials telling you to hunt for a special GoDaddy MySQL host name. That advice is for their long-retired legacy hosting; on today's cPanel hosting it is simply
localhost.
I changed my PHP version and nothing changed
The PHP version is rarely the cause. A missing or misnamed config.php fails the same way on every version, so changing it makes no difference. Sort the config.php first. PageMotor is happy on modern PHP 8.x, and GoDaddy's current default is PHP 8.3. (On GoDaddy you can change the version from the hosting dashboard's Settings tab as well as inside cPanel.)
I cannot find config-sample.php
It ships inside the PageMotor download, right next to pagemotor.php. Two things to check: the files may have landed in a pagemotor subfolder when the zip extracted, in which case move everything in it up into your site folder (see the note in step 1); and if the folder is genuinely empty, the zip did not extract completely, so repeat step 1.
My SMTP email test "times out" (Mailgun, SendGrid, Brevo and the like)
GoDaddy-specific If a test connection to an outside mail service times out on port 587 and 465 (rather than rejecting your password), the cause is almost never your settings. GoDaddy blocks outbound SMTP to external mail servers on its shared cPanel hosting, as a matter of policy, and routes mail only through its own relay. A timeout, not a login error, is the giveaway: the connection never reaches the provider.
Your options on GoDaddy shared hosting:
- Use the server's own mail system. Set your mail host to
localhoston port25with no authentication and no encryption (or pick the PHP mail() transport, which does the same with nothing to configure). This is the reliable GoDaddy path, covered in full under Sending email on GoDaddy above. Remember to add SPF and DKIM for your domain, or Gmail will silently drop the mail. - Move to a VPS. On any VPS the SMTP ports are open and an external service like Mailgun works normally, with proper SPF/DKIM and real inbox placement. See Hosting PageMotor on Vultr.
(One older GoDaddy relay hostname, relay-hosting.secureserver.net, is widely quoted online but is now deprecated and tends to time out; use localhost instead.) This is the one real limit of GoDaddy shared hosting for a PageMotor site. Everything else in this guide works fine; only external SMTP is walled off.