Self-hosting guide
Run PageMotor yourself
The whole route from an empty hosting account to a site you design with Claude Code. Your hosting, your email, your plugins, and no monthly PageMotor fee.
Who this is for. PageMotor forum members who want to run their own sites. Each step is short and links to the full guide for that step.
The whole route, on one workbench

- 1Hosting. Shared hosting or a VPS
- 2Install. Upload, database, admin user
- 3Domain. Point it at your hosting
- 4Email. Out of the spam folder
- 5Claude Code. A token and one command
- 6Design. One page at a time
- 7Plugins. Add them, or build your own
- 8Look after it. And help shape PageMotor
See it done in two minutes
Read the narration instead
Run PageMotor yourself. Your hosting, your email, your plugins. This is the whole route, in eight steps.
Three things happen on a site you run yourself. A visitor opens it. You build it by talking to Claude. And it sends email. Each step sets up one link in those chains.
Step one. Pick your hosting. Shared hosting you already have is the cheapest route. A small server of your own, a VPS, is the one we recommend, because Claude Code can build it and look after it for you.
Step two. Upload PageMotor, create a database, and open the admin address. The installer asks for three database details, then sets itself up. Next, you create your admin user. Do that before anything else.
Steps three and four. Point your domain at your hosting. Then set up email properly, so contact forms and password resets land in a real inbox, not the spam folder.
Step five is the one that changes everything. In Manage Users, click your own username. Under API Tokens, create a new token, and copy it straight away. It is only shown once.
Then one command adds your site to Claude Code. Keep the slash on the end of the address, and start a fresh session afterwards.
Step six. Now you talk to your site. This is a real run. One prompt, about two minutes, and the demo page became a finished home page. Ask for one page at a time, and look at each one yourself.
Steps seven and eight. Add plugins, or build your own. Look after your server. And when you hit a problem, report it. Running your own install means you help shape PageMotor.
The guide below has every step, and a checklist that remembers where you are. Start with step one.
How the pieces fit
Three things happen on a site you run yourself. Every step below sets up one link in one of these chains.
A visitor opens your site You set this up in steps 1 to 3
- A visitortypes your address
- Your domainpoints to your hosting
- Your hostingshared hosting or a VPS
- PageMotorbuilds and sends the page
You build by talking to Claude You set this up in steps 5 and 6
- Yousay what you want
- Claude Codeworks out the changes
- Your site's
/mcp/dooryour token is the key - PageMotormakes the changes
Your site sends an email You set this up in step 4
- PageMotora form is filled in
- Your mail serviceMailgun, or your host's own mail
- A real inboxnot the spam folder
Step 1 Pick your hosting
Get it online Step 1 of 8
There are two good routes. Both run PageMotor properly, and both let Claude Code work on your site.
Choose yours and the next steps show only what applies to you.
Shared hosting you already have
For example, GoDaddy's cPanel Web Hosting. It's the cheapest route, and you already know the panel.
The catch: the host controls the server. On GoDaddy, outgoing mail to services like Mailgun is blocked.
A VPS: our recommendation
A small server that is yours alone. Claude Code can build it and look after it for you over SSH.
Our stack: a Vultr VPS on Ubuntu 24.04 LTS, DNS at Cloudflare, email through Mailgun.
Rather click than type? PageMotor on a VPS the easy way, with CloudPanel builds the same kind of server through a web panel.
Other shared hosts: Bluehost, HostGator, SiteGround, A2 Hosting, Hostinger.
Done?
Step 2 Install PageMotor
Get it online Step 2 of 8
Showing the route.
Download the latest PageMotor core from the PageMotor forum. Then follow the guide for your host from step 1.
On a Mac? Safari often unpacks a downloaded zip by itself. Upload the .zip exactly as downloaded, and never zip the unpacked folder again: a Mac-made zip adds a hidden __MACOSX folder, and the files then land one level too deep.
Whichever host, the shape is the same: upload the files, create a database, then open /admin/ on your site.
On shared hosting you upload with your host's File Manager and create the database in its control panel.
On a VPS, the Vultr guide from step 1 has a prompt that lets Claude Code build the server and put PageMotor in place for you.
The installer does the rest
On a fresh copy, PageMotor's installer asks for your database name, user and password. It writes its own settings file and sets itself up. Then it asks you to create your admin user.
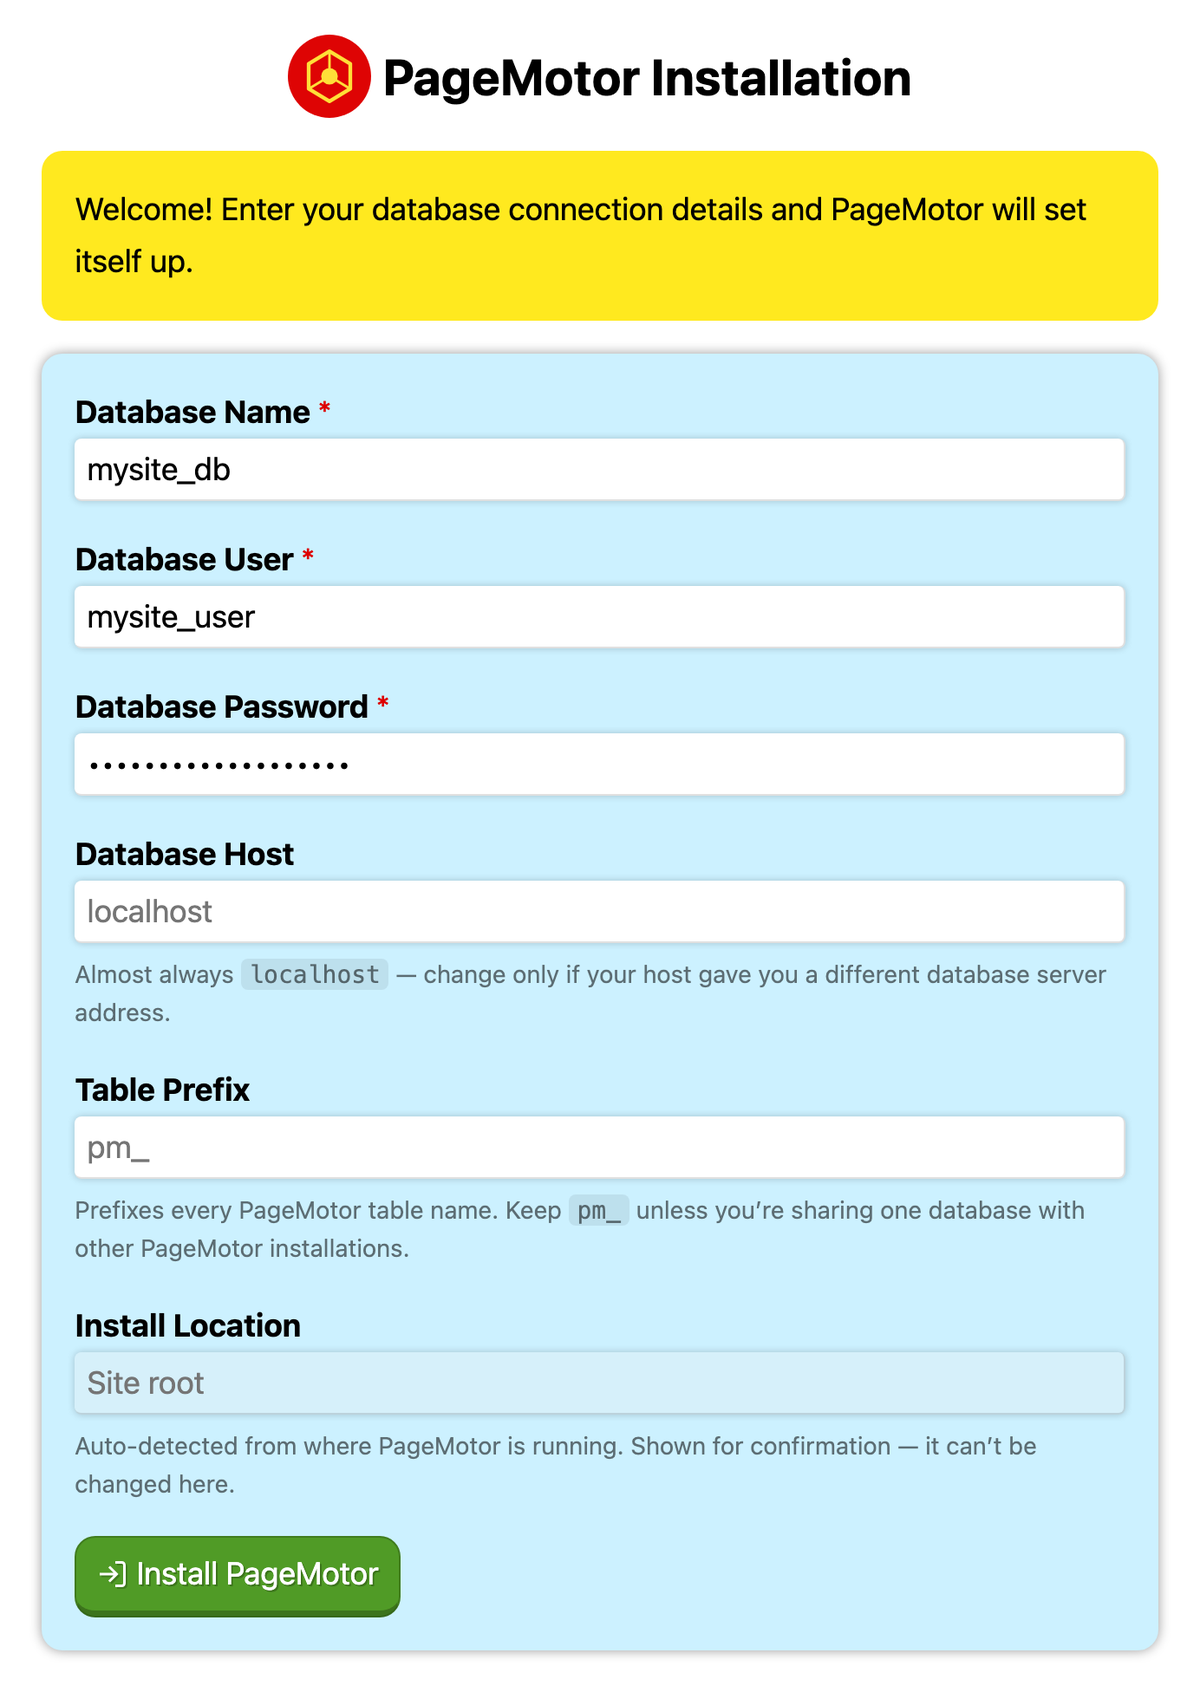
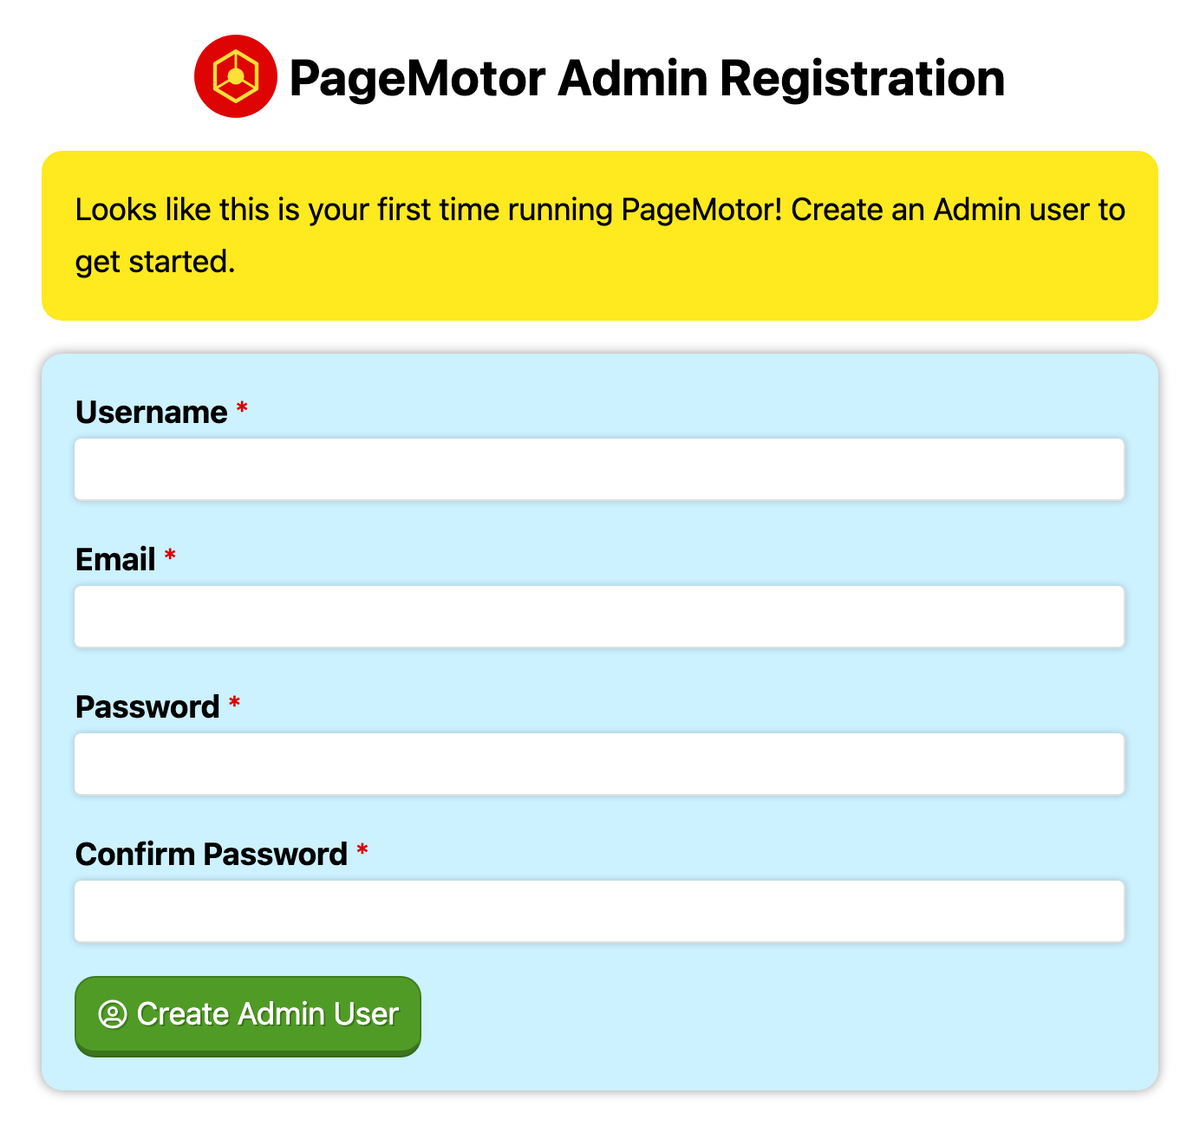
Both screens are from a fresh PageMotor 0.11.5.
If your host won't let PageMotor save its settings file, the installer shows you the contents to save by hand as config.php.
Prefer the manual way? Rename config-sample.php to config.php and put your database details in before your first visit.
Open the admin first. On that first visit PageMotor sets itself up and asks you to create your admin user. Do that before you look at the front of the site.
Done?
Step 3 Point your domain at it
Get it online Step 3 of 8
Showing the route.
Your domain can stay at GoDaddy or wherever you bought it. You only change where it points.
On a VPS, follow Point your domain at your own PageMotor server. It covers the two A records, stale records to delete, and getting your security certificate before you switch Cloudflare's proxy on.
On GoDaddy shared hosting, the main domain on your hosting account already points at it.
Want plain DNS without Cloudflare? Bunny DNS is free and is our pick for that.
Done?
Step 4 Set up email
Get it online Step 4 of 8
Showing the route.
Your site sends contact form messages, password resets and notifications. Getting this right is what keeps them out of spam.
On a VPS
Use Mailgun. Set up reliable email with Mailgun walks through every screen. The free plan covers 100 emails a day.
On GoDaddy
Use GoDaddy's own mail system: host localhost, port 25, no encryption. Then add SPF and DKIM records. Running the EP Suite on shared hosting has the details.
Mail still going missing? Read Why your website's email lands in spam.
Done?
Step 5 Connect Claude Code
Build with Claude Step 5 of 8
Every PageMotor site has an MCP endpoint at https://yoursite.com/mcp/. Connect Claude Code to it and Claude can read and change your site directly.
Your site must be on HTTPS first.
Make a token
A token is the key Claude Code uses. You make it on your own user page, in four clicks.
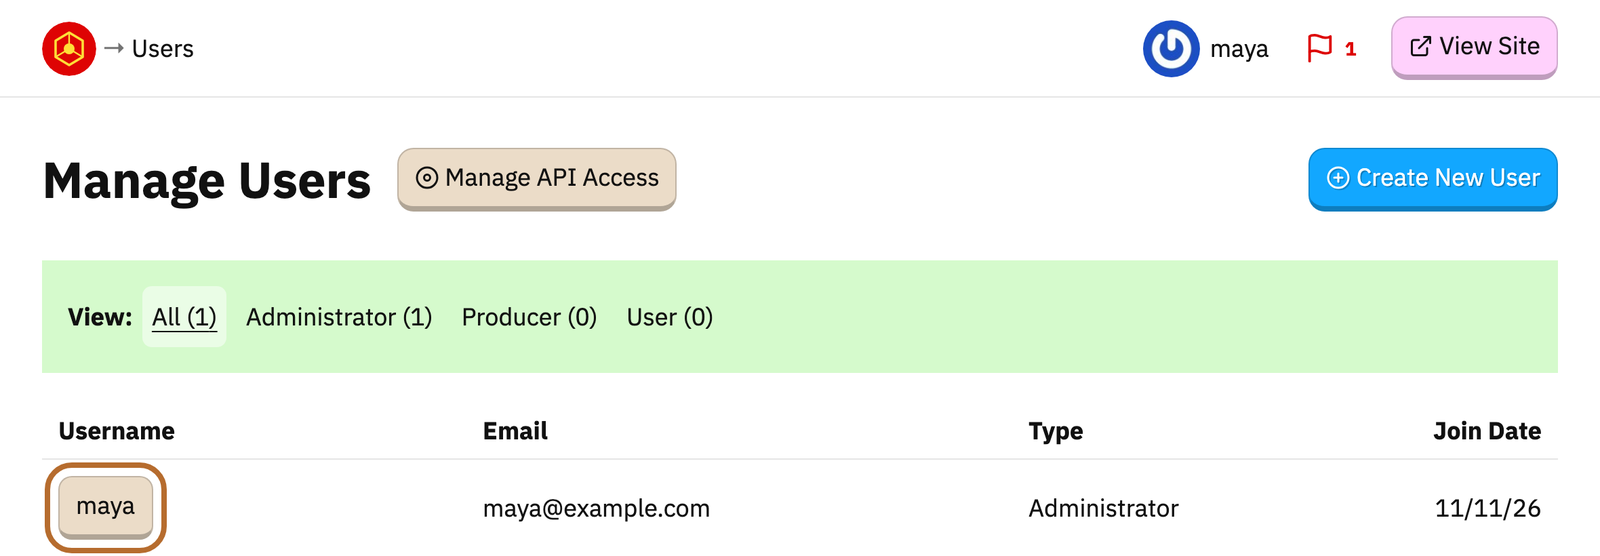
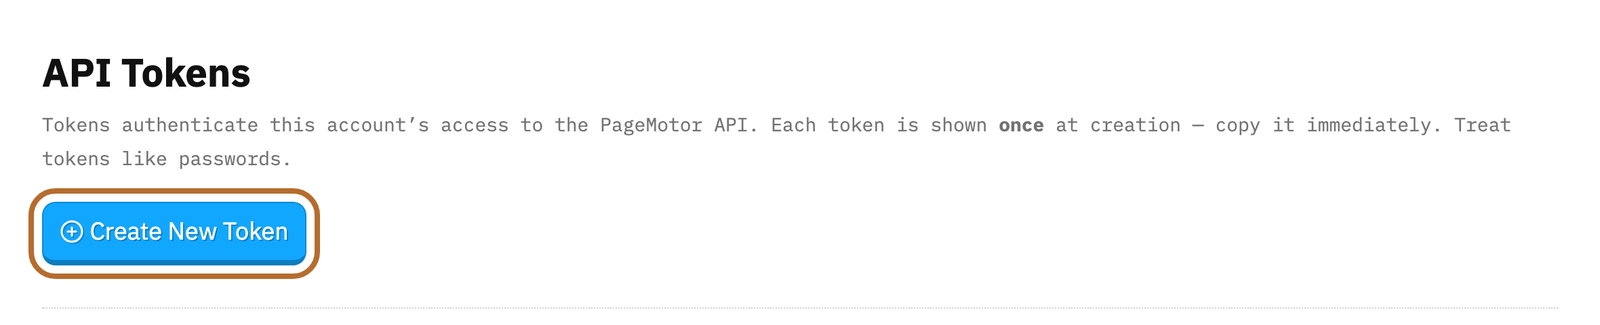
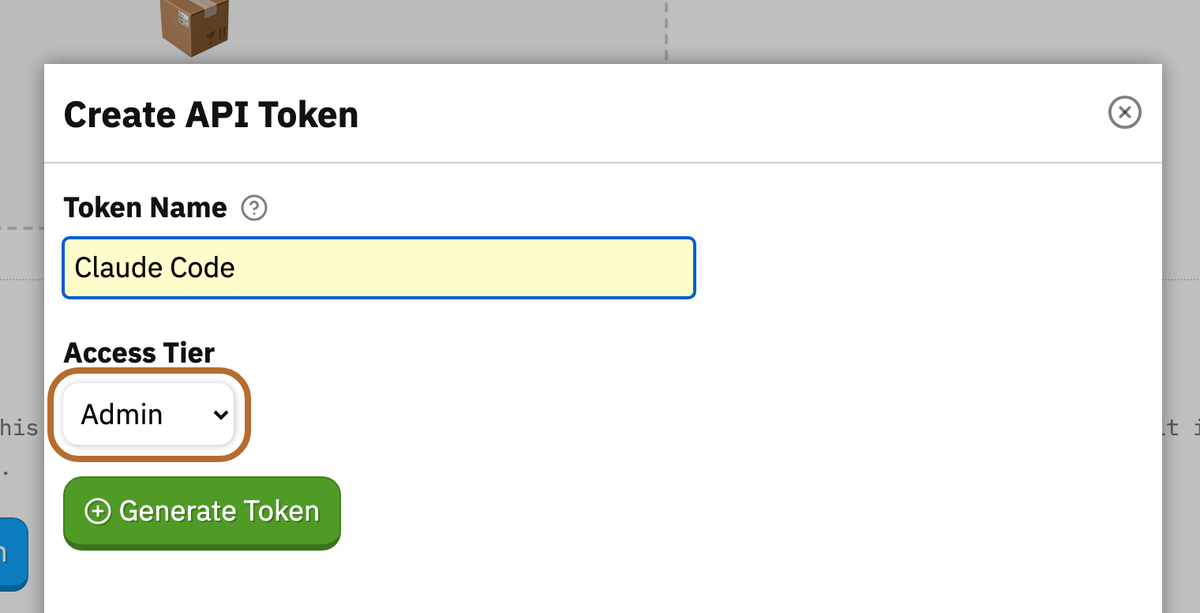
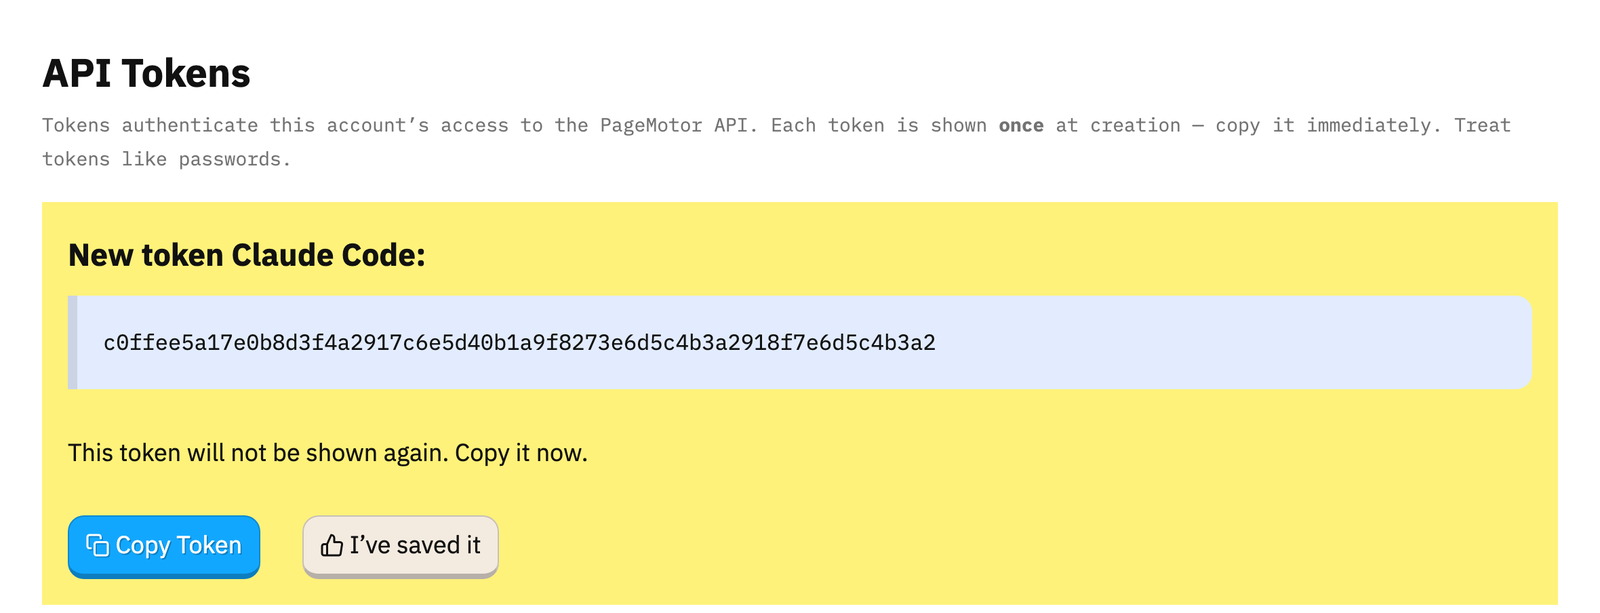
Which tier? Admin lets Claude do everything, including installing plugins and managing users. Producer covers content and settings.
On a site only you use, admin is the practical choice. You can revoke it any time.
Manage API Access, the button beside the Manage Users heading, lists every token so you can revoke one later. You can't create one there.
Add it to Claude Code
Open Terminal in the folder you'll work from, then run this with your own site name, address and token:
Build your command. Type your details and the command below updates.
claude mcp add mysite --transport http https://yoursite.com/mcp/ \
--header "Authorization: Bearer YOUR-TOKEN"This page never asks for your token. Swap YOUR-TOKEN for it in your own Terminal.
Run claude mcp list. Your site should show as type http. If it says stdio, remove it and add it again with the flag.
$ claude mcp list
Checking MCP server health…
mysite: https://yoursite.com/mcp/ (HTTP) - ✔ ConnectedClose Claude Code and open a fresh session in the same folder. It doesn't pick up new connections mid-session.
Three traps that catch most people. Keep the trailing slash on /mcp/. Open Claude Code in the same folder you added it from. Start a new session after adding.
Still won't connect? PageMotor + Claude Code MCP: why it won't connect has a 60-second check for every known cause.
Prefer the Claude desktop app? Go to Settings → Connectors → Add custom connector, paste your /mcp/ address and sign in. No token needed.
Done?
Step 6 Design and build with Claude Code
Build with Claude Step 6 of 8
Now you talk to your site. Claude reads PageMotor's own documentation over the connection, so it knows how your site works.

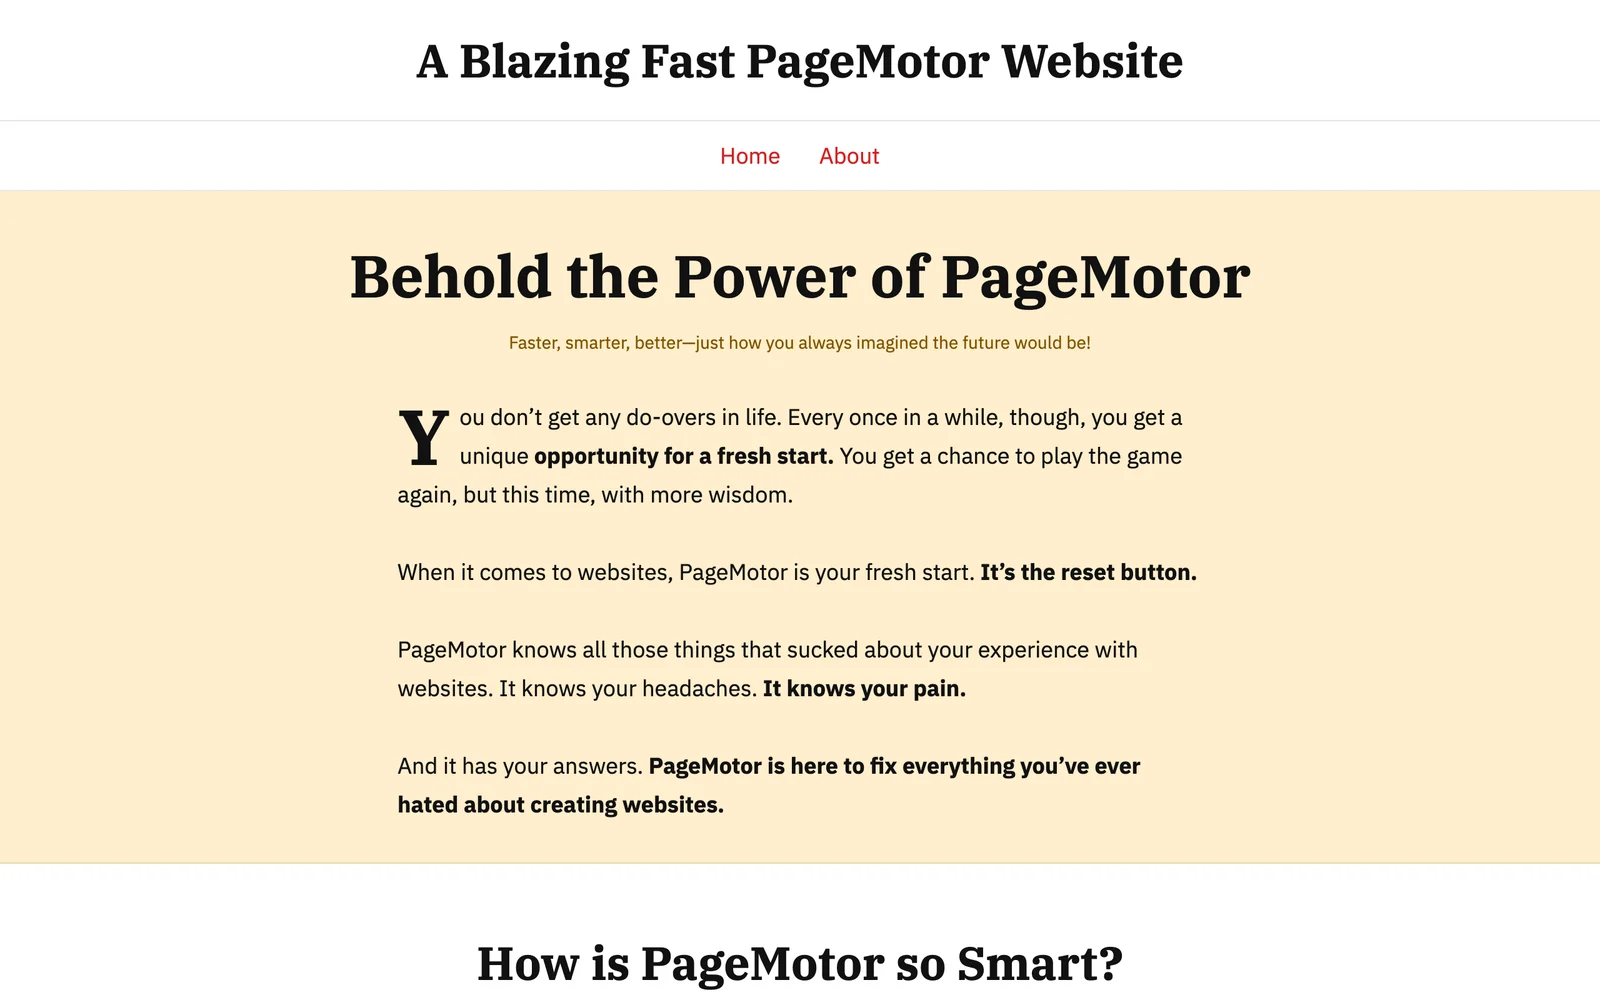
The prompt we used, and what Claude said afterwards
The prompt. “Using my mysite connection: my business is Maya's Pottery Studio, a small studio in a harbour town. I sell handmade mugs, bowls and vases, and I run beginner classes on Saturday mornings. I want the site to feel warm, calm and earthy. Build the home page. Then give me the address to check and a list of what you changed.”
Part of Claude's reply. “I haven't opened it in a browser. Please look at it on desktop and phone before sharing it.” It also listed what it had left out: “You didn't give me prices, an address, opening hours or contact details. I didn't invent any.”
That is the habit to copy. Claude builds, then you look.
Good first prompts
Using my mysite connection, tell me in plain English what you can change on my site.
Here's my business and three sites I like. Suggest a page structure and a design direction before you change anything.
Build the home page. Then give me the address to check and a list of what you changed.
Ask for one page at a time and look at each one in your browser before moving on.
Go deeper
Building your own theme explains the three ways to give a site its structure, and which ones Claude can drive.
Documents, Boxes and Blank_Slate explains how pages are put together.
Blogging in PageMotor covers posts.
AI said it was done. It wasn't. shows how to check Claude's work rather than take its word for it.
Done?
Step 7 Add plugins, or build your own
Keep it going Step 7 of 8
Plugins add booking, forms, email lists, courses and more. The full list with docs is at Plugin docs.
OG Developers on the PageMotor forum get the EP plugins free for their own sites. Send Kenn a DM on the forum for your access code.
Once you have a plugin, Claude Code can install and set it up for you over the same connection.
Want to make your own? Building your first PageMotor plugin takes you from an empty folder to a working plugin in about 20 minutes. Claude Code can write one with you.
Done?
Step 8 Look after it, and help shape PageMotor
Keep it going Step 8 of 8
A VPS is yours to maintain. Keeping your PageMotor VPS healthy is fifteen minutes a month, with a Claude Code prompt that does most of it.
Shared hosting patches the server for you.
Running your own install also means you help shape PageMotor. When you hit a problem in core, file it as a PageMotor field report so the team can act on it.
Bring questions and ideas to the forum. That's where members already talk directly with Chris about where PageMotor goes next.
Done?
Checklist
Your ticks, route and site name are saved in this browser only.